Notifications
Fansly Creator bot can notify your Discord server about your content updates and live streams. This feature is optional and can be configured to suit your needs.
Enabling Notifications
Enabling notifications is easy! Just follow these steps:
- Run the command
/notifications initin your Discord server.
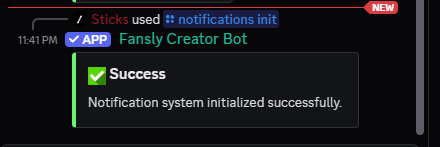
That's it! Notifications are now enabled for your server.
Configuring Notifications
You can configure the notifications to suit your needs. Configuration is done through the /notifications add command. Running this command will
lead you through a series of prompts to set up your notification preferences. A simple GIF of the process can be seen below:
Only one notification can be created at a time. If the process fails for some reason, you can run
/notifications drop_pending to remove the existing notification and start over. This will delete your incomplete notification setup
and you will have to start from scratch.
Next, we'll go over templates and configuration steps in detail.
Templates
Templates are a powerful feature that allows you to customize the messages sent to your Discord server when a notification is triggered. Templates can include dynamic content such as the title of the content, the URL, and more.
The currently supported templates are:
| Template | Description |
|---|---|
{{ creatorName }} | The name of the creator |
{{ postContent }} | The text content of the post |
{{ postLink }} | The direct link to the post |
More templates may be added in the future, so keep an eye on the documentation for updates!
When using templates, make sure to include the double curly braces {{ }} around the template name. They must be formatted exactly as shown.
Otherwise, the templates will not be replaced with the relevant content information.
Configuration Steps
There are several steps to configure your notifications. You can view each step below in detail.
1. General Settings
This will ask for the channel ID of the channel where you want the notifications to be sent, the message (supports templates), and the role mentions.
A couple of notes on this first step:
- To comply with discord's Terms of Service, the bot will not send notifications to channels that are not NSFW.
- Mentions can only be RoleIDs, not UserIDs.
- The message can include templates, which will be replaced with the relevant content information when a notification is sent.
If you need to pass role IDs to this notification, they must be in a comma-separated list. For example: 123456789012345678,234567890123456789. If you
only have one role ID, you can just enter it without the comma.
When you close the modal, as long as you don't refresh your client, discord will save the values you entered. This is useful if you need to copy and paste the channel ID or role IDs.
2. Content Types
This step allows you to select which types of content you want to receive notifications for. You can choose from the following options:
| Content Type | Description |
|---|---|
post | Notifications for new posts |
live | Notifications for live streams |
These are "Post Notification" and "Live Notification" respectively in the Fansly Creator bot. Currently, only one type per notification is supported.
Currently, our worker that looks at live streams is not fully functional. You still configure live notifications, but they currently will not be posted to your Discord server. We are working on this feature and will update the documentation when it is available.
3. Filter Types
Filtering is a powerful feature that allows you to control which content will trigger notifications. You can set up filters based on the following criteria:
| Filter Type | Description |
|---|---|
wallID | Filter by the wall ID of the content. |
More filter types may be added in the future, so keep an eye on the documentation for updates!
Currently, only the wallID filter is supported. You can enter a single wall ID or a comma-separated list of wall IDs to filter notifications. An example of a comma-separated list is: 123456789012345678,234567890123456789.
You can get your assigned wall IDs from the Fansly Creator bot by running the command /listwalls. This will list all the wall IDs associated with your account.
4. Pretty Mode
Pretty mode is a feature that allows you to format the notifications in a more visually appealing way. When enabled, the bot will use embeds to format the notifications instead of plain text.
5. Webhook URL
If you want to use a webhook to send notifications instead of the bot, you can enter the webhook URL here. This is optional and can be left blank if you want to use the bot's default notification method.
Webhooks are useful if you want to send notifications to a different channel in a different server, or to customize the notification format further.
You can create a webhook in your Discord server by going to the channel settings and clicking on "Webhooks". Discord also has a handy article on how to create webhooks.
Managing Notifications
We have a few commands to help you manage your notifications:
| Command | Description |
|---|---|
/notifications list | List all notifications configured for your server |
/notifications remove | Remove a specific notification by its ID |
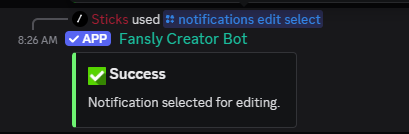
Editing Notifications
To edit a notification, you must first select it using the /notifications edit select command. This will prompt you to select the notification you want to edit.
Once selected, you can use the /notifications edit field command to modify the notification settings. All fields are editable, and you can change any of the settings you configured when you first set up the notification.

If you receive a validation error when editing a notification, it means that the input you provided is not valid for the field you are trying to edit. For example, if you are trying to edit the channel ID and you enter a non-numeric value or a channel ID that does not exist, you will receive a validation error.