The Basics
Welcome to the basic setup guide for the Fansly Creator bot! This guide will walk you through the basic setup steps to get the bot up and running in your Discord server. First, please make sure your purchase is complete and you have added the bot. The website should have provided you with a link to add the bot to your server. If you have not done this yet, please do so before proceeding.
Step 1: Set up permissions
The first step is to set up the permissions for the bot. The bot requires certain permissions to function correctly. These permissions include:
- Manage Roles: This permission allows the bot to assign roles to users based on their Fansly subscription level.
- Send Messages: This permission allows the bot to send messages in the server.
- Embed Links: This permission allows the bot to send embedded messages in the server.
- Read Message History: This permission allows the bot to read the message history in the server.
- Use External Emojis: This permission allows the bot to use external emojis in the server.
Please make sure the bot has these permissions on it's role in your server. If you are unsure how to set up permissions, please refer to the Discord documentation on setting up permissions.
Step 2: Set up hierarchy
The next step is to set up the hierarchy for the bot. The bot requires a specific role hierarchy to function correctly. The bot should have a role that is higher in the hierarchy than the roles it assigns to users. This ensures that the bot can assign roles to users without any issues.
Please make sure the bot has a role that is higher in the hierarchy than the roles it assigns to users. If you are unsure how to set up hierarchy, please refer to the Discord documentation on role hierarchy.
Proper role hierarchy is crucial for the bot to function correctly. If you do not set up the hierarchy correctly, the bot may not be able to assign roles to users when a sync is triggered.
Step 3: Import your Fansly data
We automagicly are able to import your Fansly data. Please follow each substep to ensure that your data is imported correctly.
Importing Tier Data
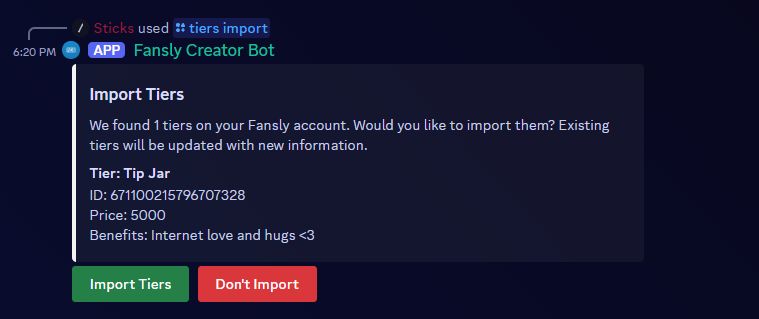
To do this, simply run /tiers import and all tiers will be displayed to you in a list (see below). You can then confirm the import by clicking the confirm button.
Prices are currently not formatted correctly. This is a known issue and will be fixed in a future update. They are formatted in cents, so $10.00 would be displayed as 1000.
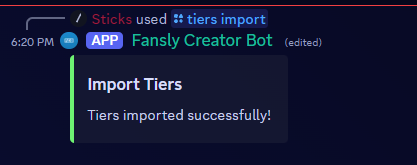
After you have confirmed the import, the bot will import all of your tiers and display a success message.
We'll cover how to manage tiers in the next section.
Step 4: Set up follower role
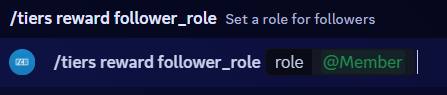
We can give roles for people for following you on Fansly. To set this up, run /tiers reward follower_role <role>. This will set the role that is given to people who follow you on Fansly.
Example below.
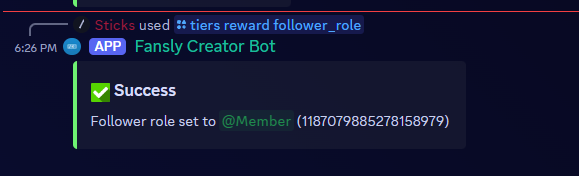
After you have set the follower role, the bot will display a success message.
Success!
Congrats! You've completed the basic setup guide. Take this awesome medal: 🏅. Next, we'll cover how to manage tiers and what rewards they give.